When I was a little girl, my mom & dad used to jokingly call me the "mod podge" queen. My bedroom had pictures cut out of magazines taped up all over the walls expressing my creativity, individuality and latest famous crush, especially around my bed where I'd lay my head ;D So it's only fitting that here I am years later doing my first tutorial on what else?! Mod podge! I can here them giggling already, haha! The whole idea started with this monstrosity...

My husband's idea of a trusty coaster, the one he's been using for the last two weeks because we don't have any, poor guy! Well here is a fun idea to help you peeps like us out there that could use a coaster or two instead of a stained index card :D
..............
DIY Mod Podge Coaster Tutorial
1. You'll need tiles (see #2), scissors, mod podge, felt, sponge brush, hot glue gun, fun paper - either scrapbook paper or wrapping paper and some polyuerthane spray paint.

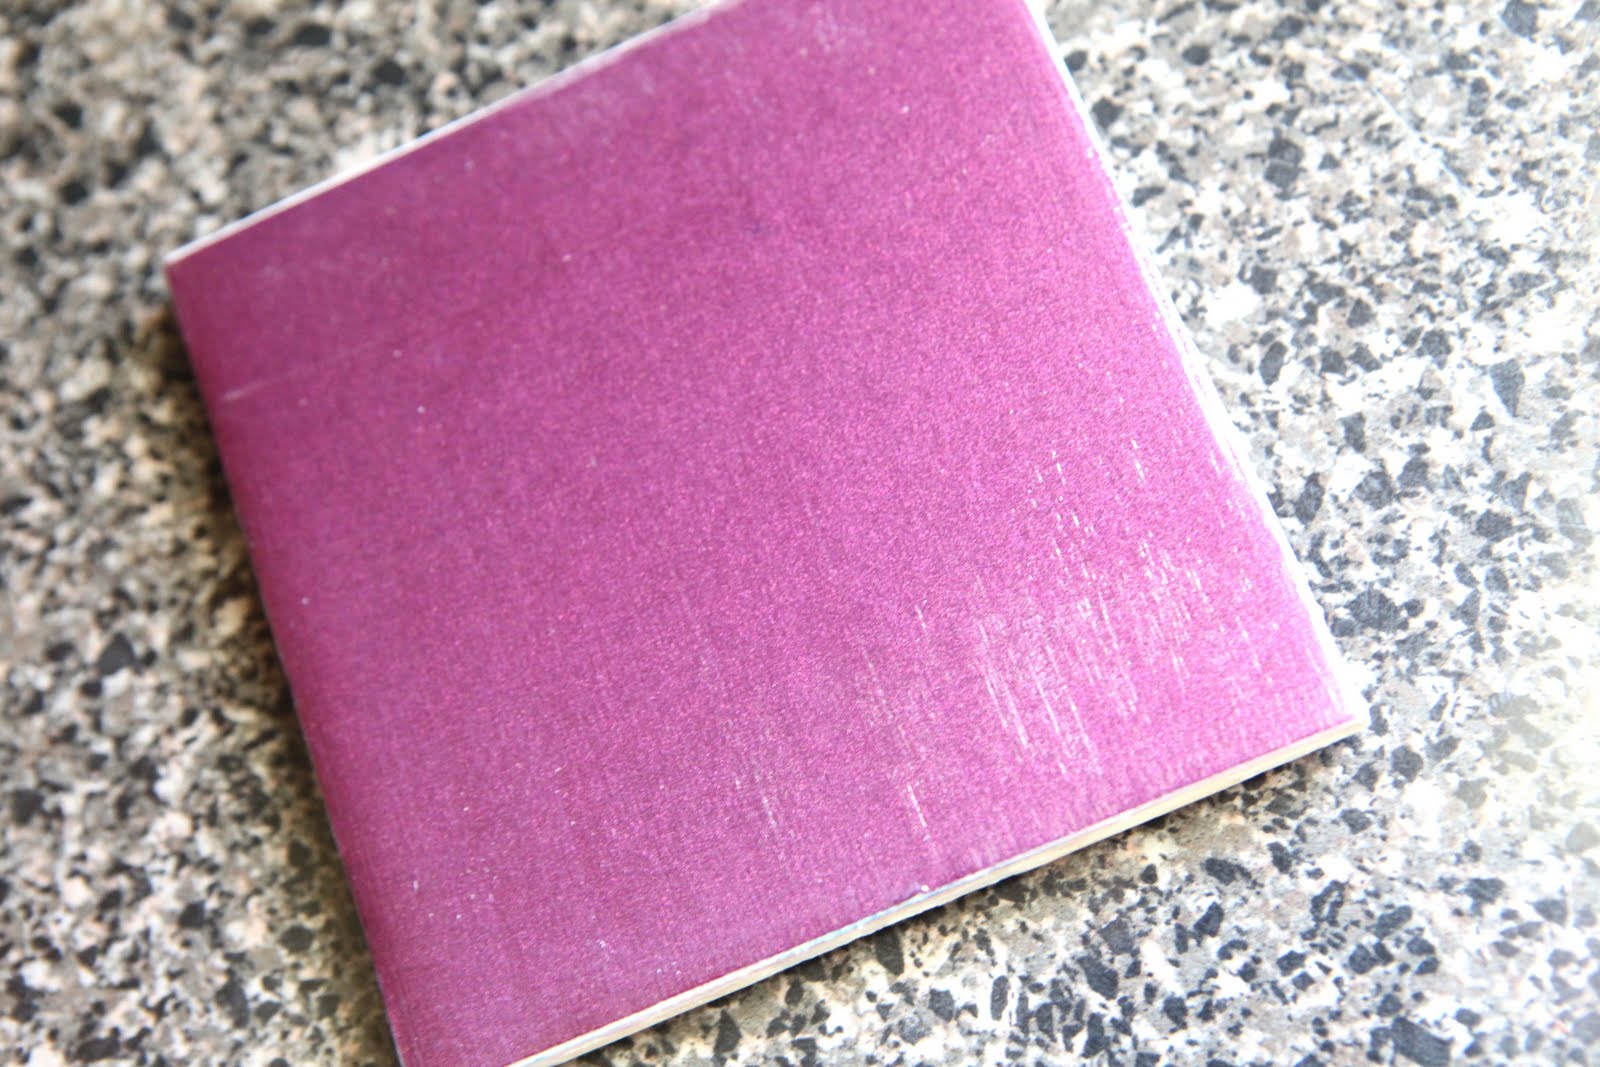
2. Purchase your tiles. I bought mine at Home Depot and grabbed a handful of the cheapest ones they had at only 16 cents a tile!
3. Go ahead and lay your tile down onto your fab paper and trace around it with a pen.
4. Cut your squares out next.
5. After you cut the square out and get it to your desired size (it took me a few tries to get it exactly the right size), apply about 3-4 drops of mod podge to the top of your tile and spread with your sponge brush. The first time I tried I put too much on and the paper bubbled up on me. I figured out as I went that less is more ;) Let dry for about 20 minutes.
6. While it's drying, cut out four small felt circles. Or you could cut out a square to fit the bottom of your tile. Then use your hot glue gun to apply to the bottom of your coaster.

7. Now, drop about 4-5 drops of mod podge on top of your decorated tile and spread with your sponge brush. Let it dry for about 15 minutes and then repeat. Do this about 5 to 6 times.

8. Voila, that's it for now! Let your coasters dry over night and the next day spray a coat of your polyurethane on and let sit over night one more time. Then you're ready to use your fab new coaster. Don't set anything hot on your coaster for one month, that's how long it takes for the mod podge to fully set.

Enjoy!!
......................
And for those of you who are just not interested in making your own or don't have time, I've made a handful for sale! Please comment, email or Facebook me for more information, thank you!


Vintage

Fall Vintage

Beauty

Royal Vintage

Prices
One coaster - $3
A set of 4 - $10
(includes shipping & handling)
So far I have the 8 different designs. If there is one in particular you like I can make four of the same design for a set. Also, I can combine any of them to make a set if you'd like to get creative! Or you can go with one of the combinations I put together already. I'll be sure to post more as I make them! Comment, e-mail or face book me for more info!
Kat


No comments:
Post a Comment